Basics
The Audiotool interface is the transport bar, Timeline, Library, Studio, Mixer, and on-screen piano. This page names each area and what you use it for.
Essentials
What you'll learn
- Global controls handle transport, project management, and playback
- Timeline is where you arrange and edit tracks
- Library panel is where you browse and add instruments, samples, and effects
- Studio view is where you route signals and build device chains
- Mixer is where you shape and balance your sound
- On-screen piano lets you preview sounds and play instruments
Global Controls
The global controls bar provides essential transport controls, project information, and quick access to key functions.

| Hub | Opens the hub to start new projects or open existing ones |
|---|---|
| Project Name | Opens the project/track properties dialog |
| Undo / Redo | Step backward/forward through your edit history |

| Play/Pause | Start or pause playback. • Use Space to play from playmarker position. • Use Return/Enter to play from playhead position. |
|---|---|
| Stop | Stop playback and return to start |
| Loop | Toggle looped playback |
| Record | Enable recording mode F9 |
| Metronome | Toggle metronome with menu for count-in settings |
| Options | Additional metronome settings |

| Current Time | Shows the current playback position in time |
|---|---|
| Bars | Shows the current bar position |
| Tempo | Displays and allows adjustment of the project tempo (BPM) |
| Groove (Swing) | Controls the swing feel and timing feel of the project |
| Time Signature | Displays and allows adjustment of the musical time signature |
| Options | Choose which playback info items are shown |

| Publish | Publish your project to share it with others |
|---|---|
| Invite | Invite collaborators to work on your project |
| Help | Access help documentation and support |
Timeline
The timeline is where you arrange tracks, edit regions, and build your musical arrangement. It provides tools for precise editing and navigation.

First Row (Timeline header)
| Cursor Tools | Pointer (select/move), Cut/Scissors (split regions), Stretch (time-stretch MIDI & audio regions). See MIDI Editor, Audio Editor for details on region editing |
|---|---|
| Mini Overview | Sets Timeline zoom level for navigation |
| Track Height | Adjusts the vertical size of tracks for better visibility. Expand tracks for detailed editing or shrink them to get a better overview of your arrangement. |

Second Row
| Snap to Grid | Toggle snapping on/off for precise region placement |
|---|---|
| Grid Resolution Menu | Choose grid divisions (e.g., 1/4, 1/8, 1/16) for alignment |
| Follow Playhead | Auto-scroll the Timeline during playback to keep the playhead visible |
| Timeline Settings | Timeline-specific options and preferences |
| Loop Range | Define a looped playback area on the ruler |
Library
The library panel on the left provides access to all your content and devices. It’s organized into tabs for easy browsing and discovery.
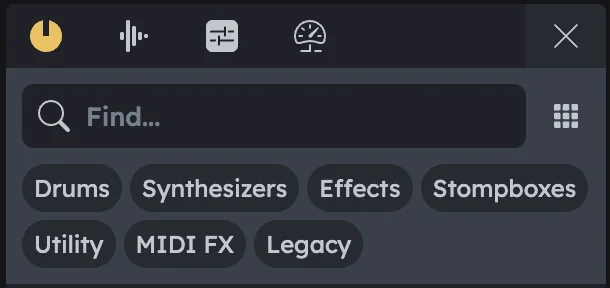
| Samples | Browse and filter samples and loops. Drag them into the Timeline or onto sampler devices. Type filters (All / Loops / One-Shots). Loops show a BPM field that defaults to the project tempo but can be changed |
|---|---|
| Presets | Load device presets. Right‑click a device → Load Preset to see only compatible presets |
| Devices | Add synthesizers, drum machines, effects, and utilities. Drag synths/drum machines directly to the Timeline; drag effects onto an instrument track to add them to its chain |
| Advanced | Grooves and Tuning controls (timing feel and project tuning). Settings can be adjusted while playing |
Studio
The studio view is a flexible workspace for placing and connecting devices. Build complex signal chains by routing devices together.
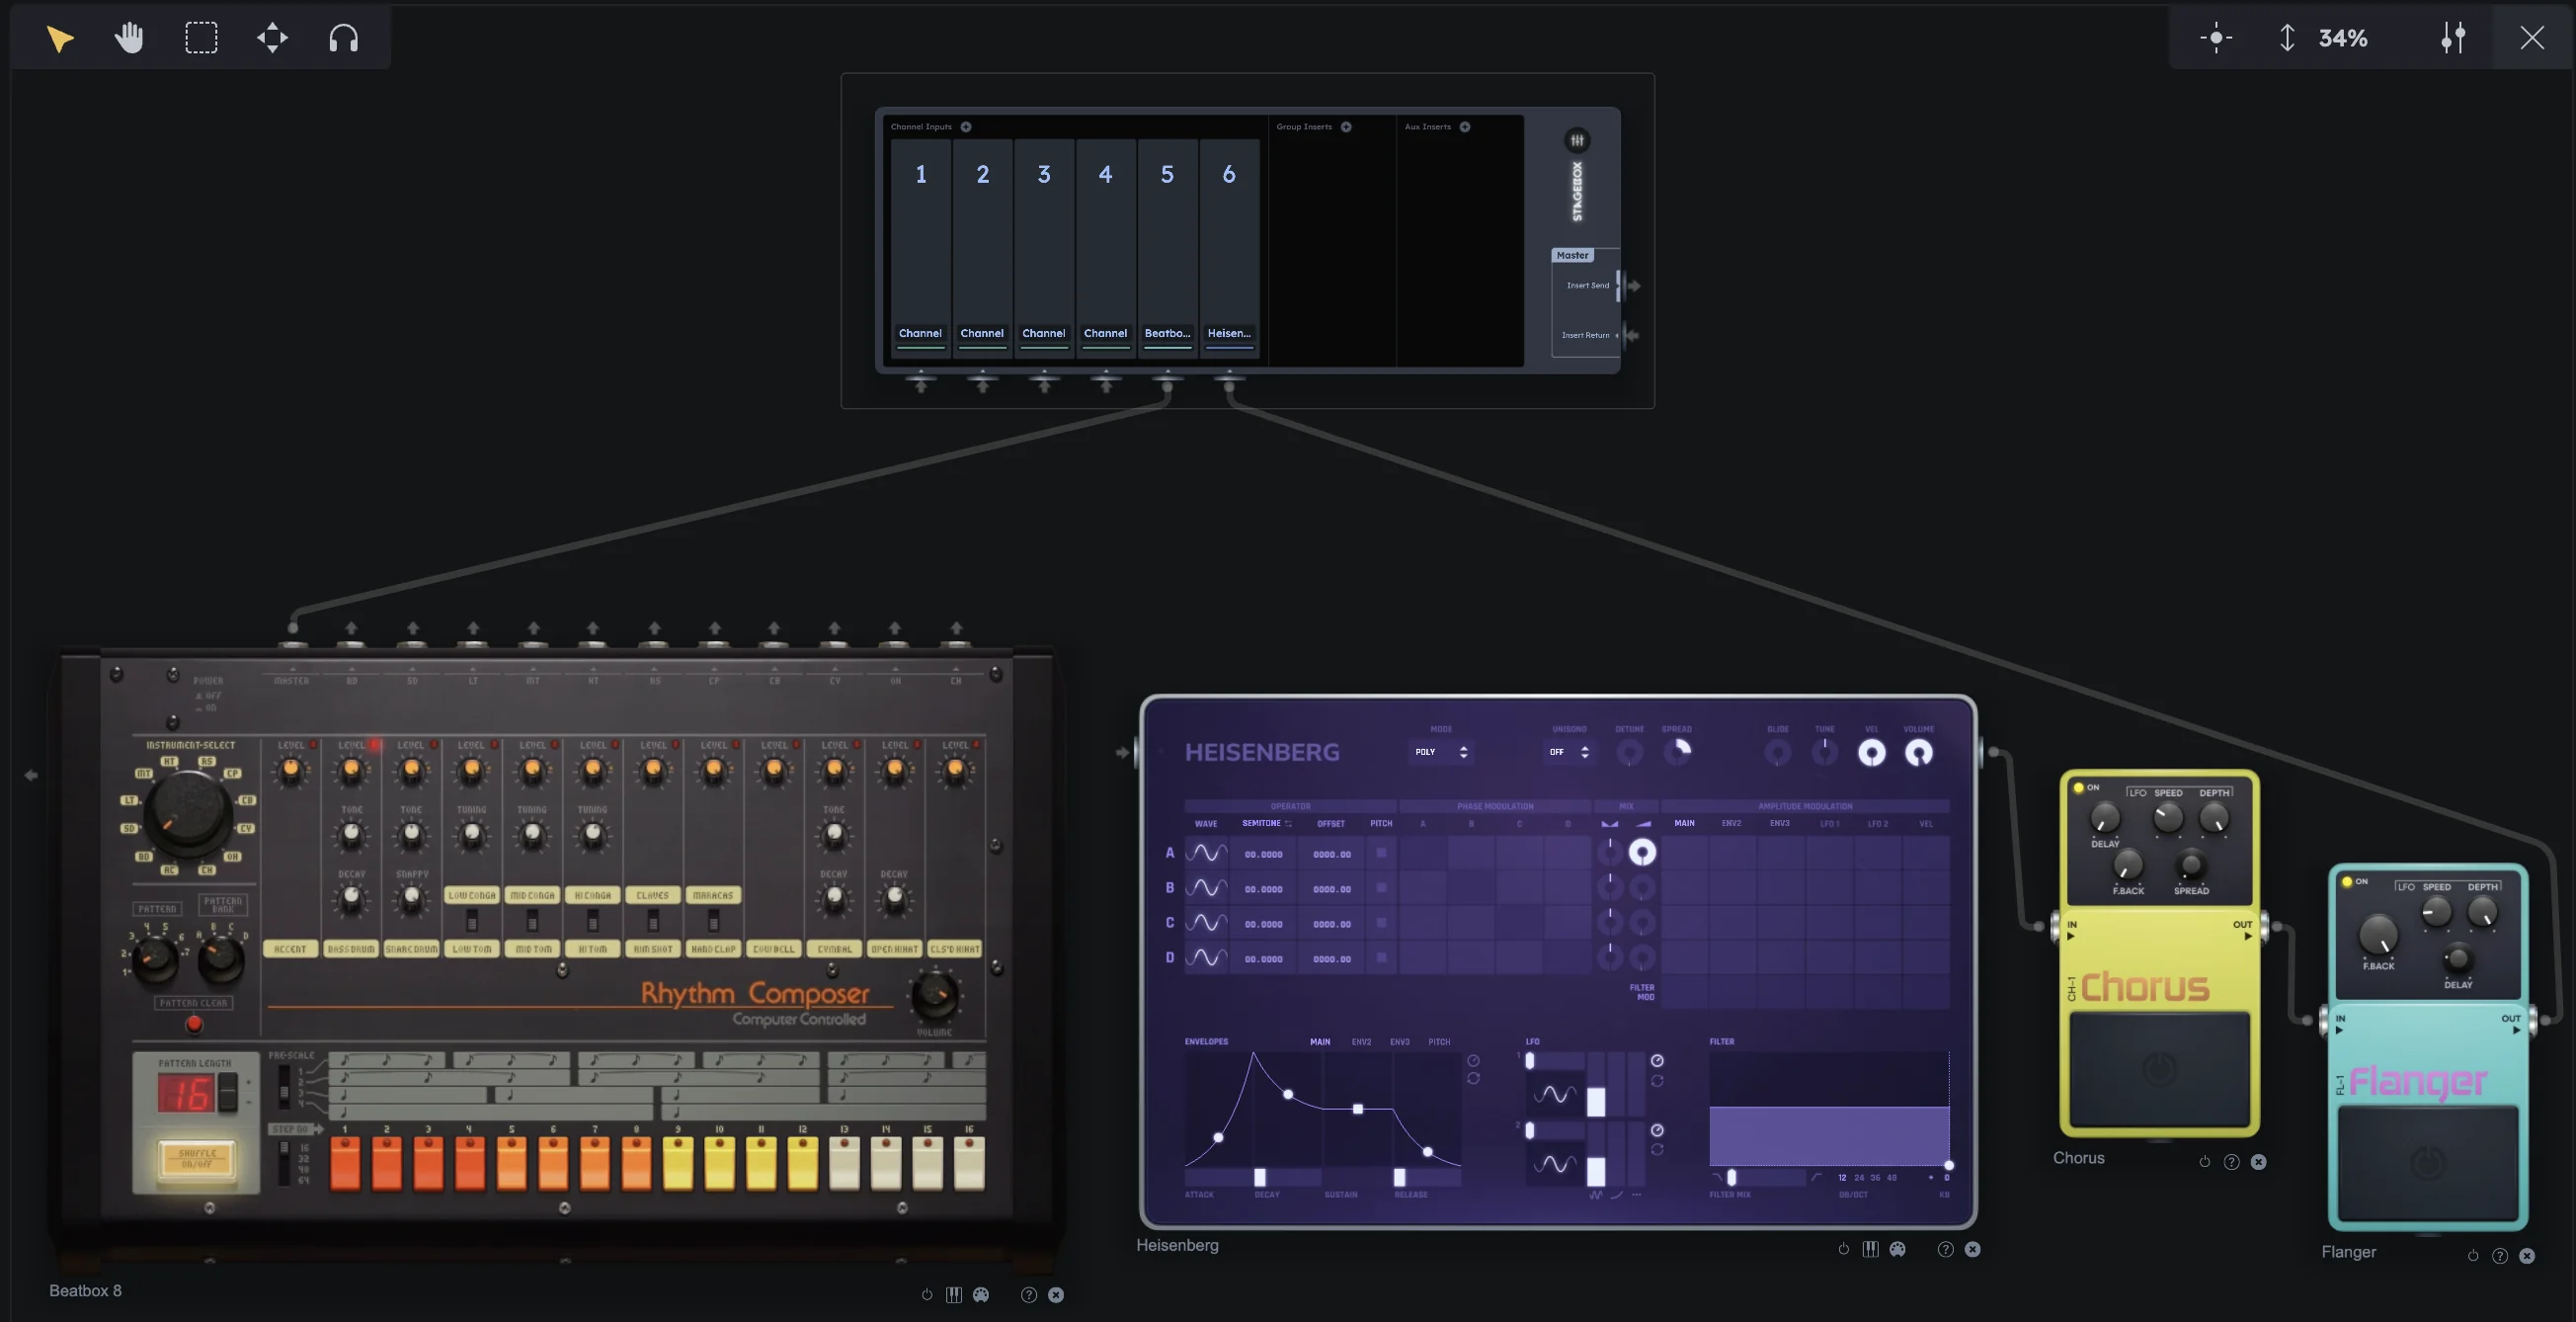
| Device Placement | Drag devices from the Library into the Studio to build your signal chain |
|---|---|
| Virtual Cables | Connect instruments and effects by dragging virtual cables between device outputs and inputs |
| Flexible Layout | Arrange and patch devices as needed for your workflow |
Mixer Options
The mixer settings panel on the right provides options for customizing the mixer view and behavior.
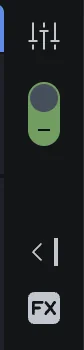
| Dynamic Mixer | Toggle (green toggle in the top right) to show only channels that correspond to selected devices or Timeline tracks, hiding unused channels for a cleaner view |
|---|---|
| Show Master | Toggle visibility of the master channel |
| Show FX Channels | Toggle visibility of the two built-in FX channels |
On-Screen Keys
The on-screen piano provides a convenient way to play instruments and preview sounds without external MIDI gear.

| Mouse/Keyboard Input | Play instruments with mouse clicks or computer keys |
|---|---|
| Preview Sounds | Handy for previewing sounds or testing parts without external MIDI gear |
Practical Tips
Practical Tips
- Use the Library panel’s search to quickly find samples, presets, or devices
- Right‑click devices in the Library to see context-specific options
- Drag devices directly from the Library to the Timeline for faster workflow
- Use the Studio view to create complex routing chains before adding to tracks
- Enable “Follow Playhead” when editing to keep your work area in view
- Adjust track heights in the Timeline for better visibility of complex arrangements
- Use the on-screen piano to quickly test sounds before recording MIDI